First-Time Experience & UI Walkthrough
Welcome to DataFuse AI! If you're new to the platform, this guide will walk you through the core modules and key UI elements, giving you a broad overview of the system. It’s designed to familiarize you with the interface, so you can navigate easily and feel confident as you explore the platform.
Let’s dive into what you’ll see and how to get started.
Logging In: Your First Step
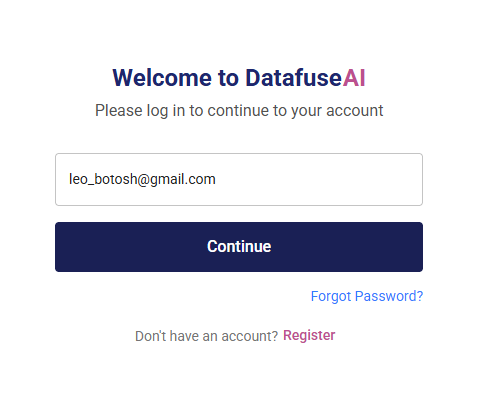
After signing up for your tenant account, the first thing you’ll do is log in to DataFuse AI.
Steps to Log In:
- Enter the email and password you registered with.
- Click Login to access your DataFuse AI tenant.
Keep your login details secure—use a strong password with a mix of letters, numbers, and symbols.
As soon as you register, DataFuse AI activates a 14-day free trial for your tenant (with a small default user limit)—so you can explore engines, connection profiles, queries, pipelines, and jobs right away, with no payment required. When you need more users, a longer term, or full/production access, you request a license from within the app. The License / shield icon in the top-right shows your trial countdown; open License Management to view your status and request a license.
Dashboard Interface: Your Central Hub
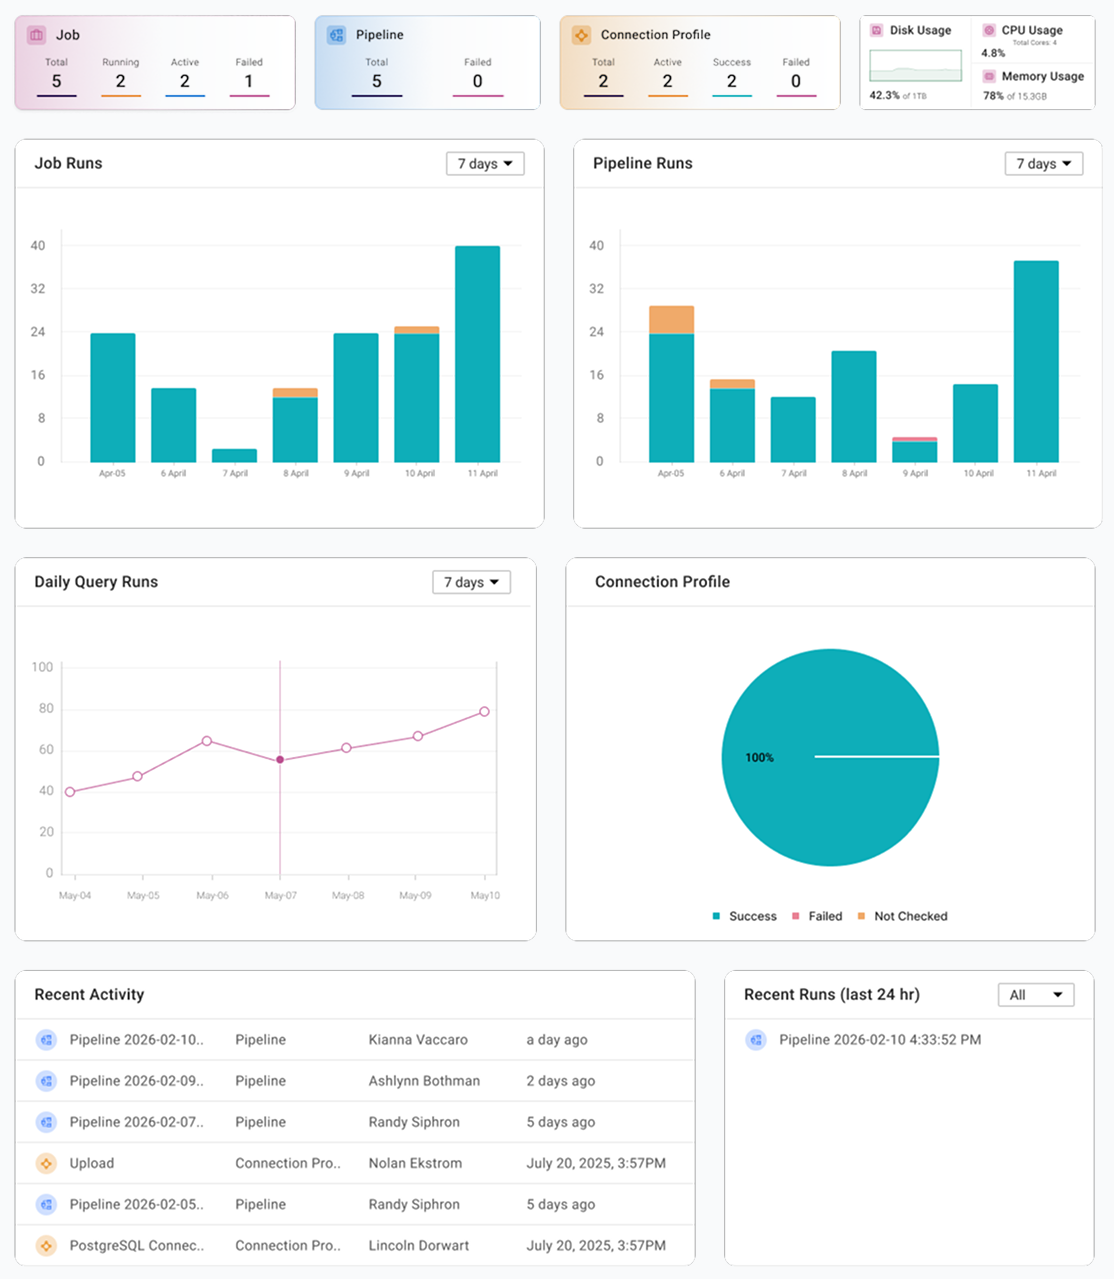
Once logged in, you'll land on your Dashboard. Think of this as your control center, where you can quickly access key information and monitor your activity.
What You’ll See on Your Dashboard:
- Job Info: Monitor the status of jobs you’ve set up.
- Pipeline Info: Track the status of pipelines.
- Query Info: View the number of queries run.
- Connection Profile Info: See the health and status of your data connections.
- System Health: Get a quick overview of system performance and any ongoing alerts.
When you first log in, many of these sections will be empty. As you begin interacting with the platform, these areas will populate with real-time data.
For detailed information on using your Dashboard, visit the Core Modules - Dashboard section.
License Management: Your Access & Trial
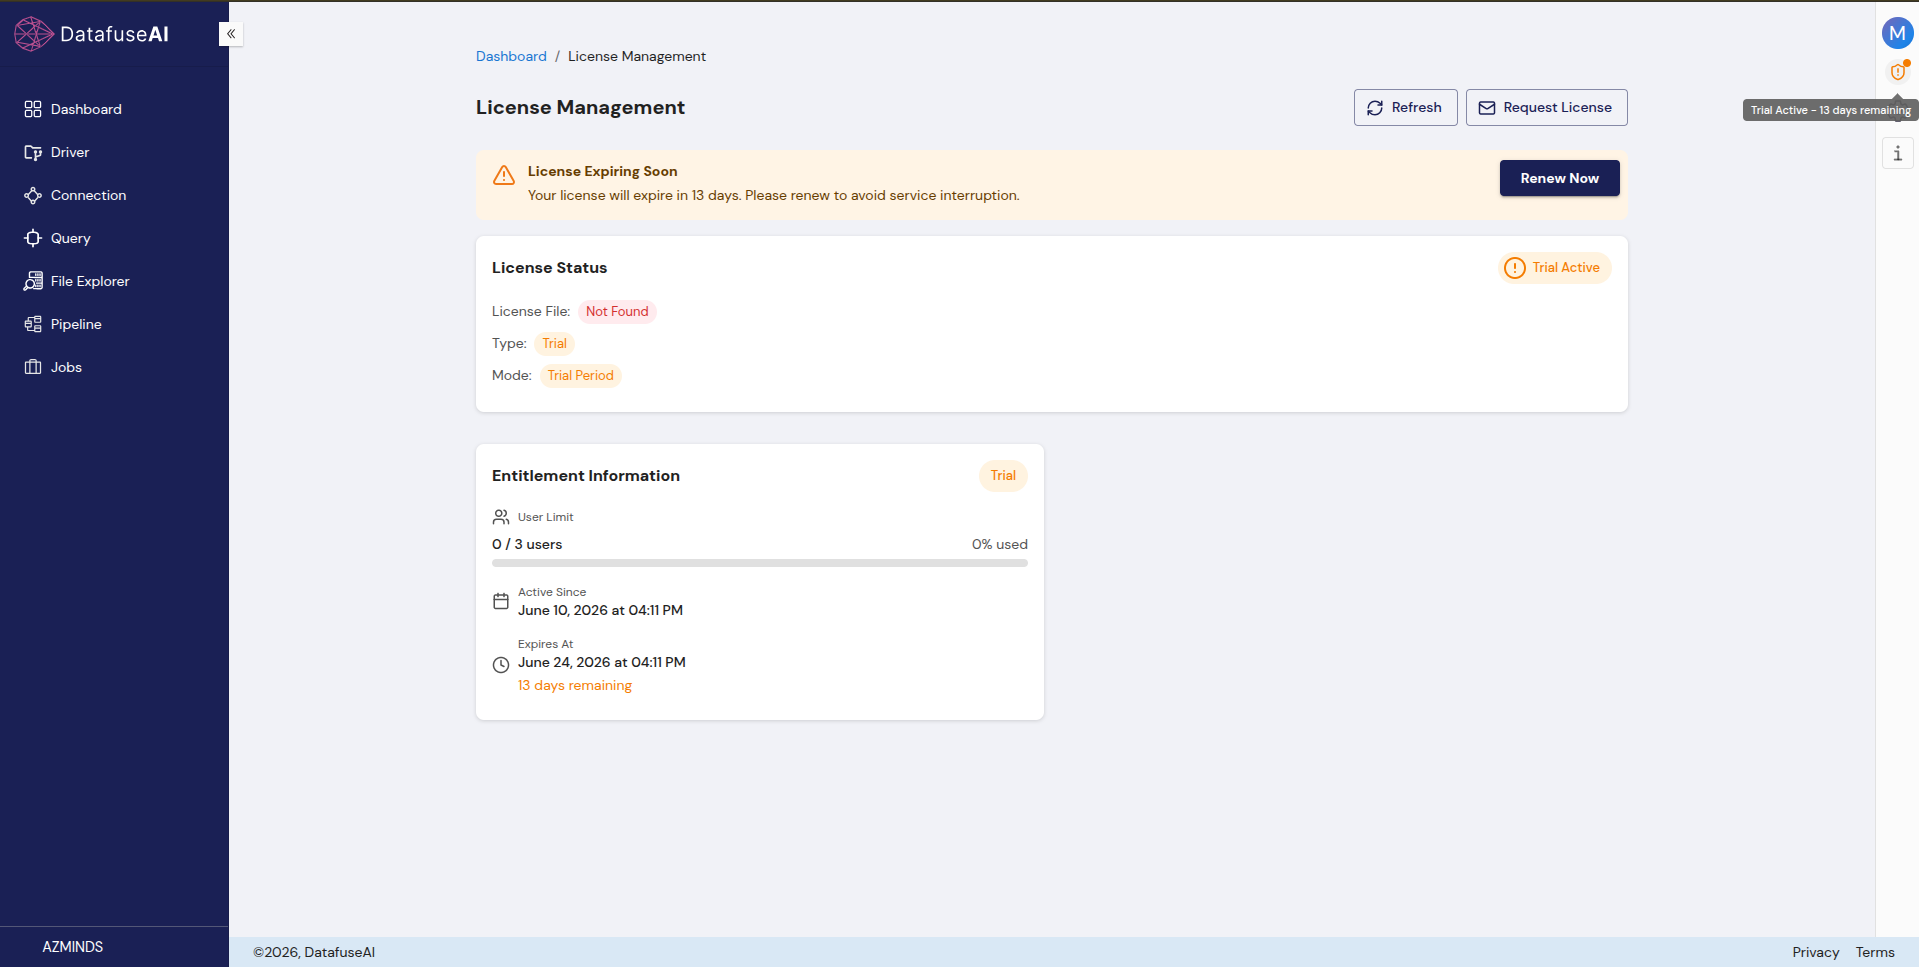
The License Management page shows your tenant's current access at a glance—your License Status (Type, Mode, License File) and Entitlement Information (user limit used / total, Active Since, Expires At, and days remaining). It's also where you request a license and activate it when you're ready to move beyond the trial.
To access License Management:
- Click the License / shield icon in the top-right corner—it shows your trial countdown (for example, "Trial Active – 13 days remaining").
- Or use the Dashboard → License Management breadcrumb.
On the License Management page, you can:
- Review your License Status and Entitlement Information (user limit, expiry, days remaining).
- Request License / Offer Change to ask for a higher user limit and longer duration.
- Activate a product key to apply your license and its validity (the license file is applied automatically online, or installed manually for offline deployments).
- Renew when the License Expiring Soon banner appears.
Keep an eye on the trial countdown. To avoid pausing scheduled jobs or blocking pipeline runs, request and activate your license before the trial expires.
For full details, visit the Core Modules - License Management section.
Engine Interface: The Heart of Your Operations
The Engine is the processing powerhouse of DataFuse AI. It’s where all your data operations happen—executing queries, running transformations, and powering pipelines.
To access the Engine:
- Click the Settings icon (located in the top right corner, near your profile).
- Select Engine from the drop-down menu to view your available engines.
You can have multiple engines set up. The engine you choose determines how your queries, pipelines, and jobs are processed. If you have several engines, make sure to select the appropriate one for each task.
For more details on setting up and managing engines, visit the Core Modules - Engine section.

Before you can execute queries or run pipelines, you'll need to set up your first Engine. Follow the steps outlined in our Quick Start Guide - Setup Your First Engine.
Drivers Interface: Connecting Data Sources
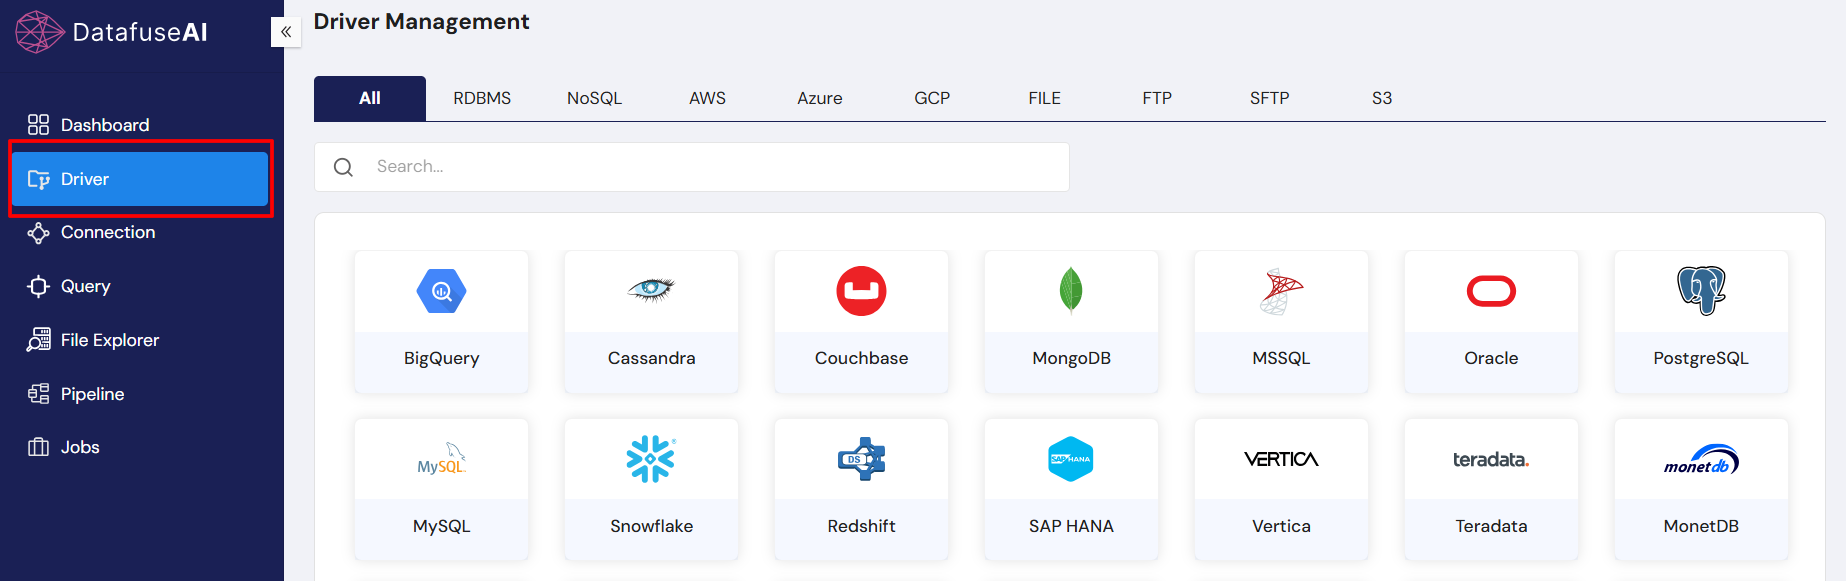
Drivers are what allow DataFuse AI to connect to your external data sources, such as databases, cloud storage, and APIs. If you’re working with services like PostgreSQL, MySQL, Snowflake, or AWS S3, you’ll need the corresponding driver.
To access and manage drivers:
- Click on Driver in the left-hand navigation.
In the Driver section, you can:
- Download the default drivers for popular data sources (e.g., PostgreSQL, MySQL).
- Upload your own custom drivers to connect to other data sources.
DataFuse AI supports a wide variety of data sources. You can easily integrate with RDS, Cassandra, BigQuery, and many more!
For more information on downloading and uploading drivers, see Quick Start Guides - Download Your First Driver. For detailed instructions on managing drivers, refer to the Core Modules - Driver section.

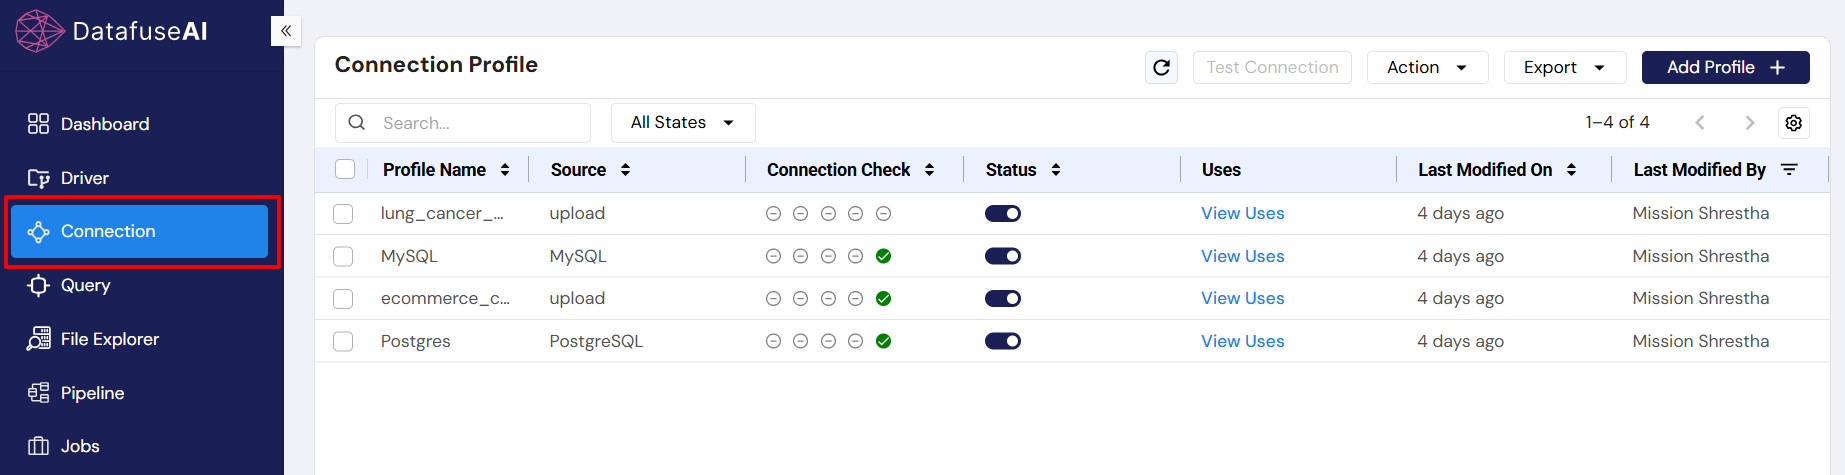
Connection Profiles Interface: Link Your Data
Connection Profiles store the necessary credentials (like hostname, username, and password) to connect DataFuse AI to your data sources. These profiles are essential for running queries, building pipelines, and automating jobs.
Connection profiles are the backbone of DataFuse AI’s operations. Without them, you won’t be able to access or process your data.
To learn more about creating connection profiles, visit Quick Start Guides - Create Your First Connection Profile. For detailed guidance, refer to the Core Modules - Connection Profile section.
Query Interface: Retrieving Data
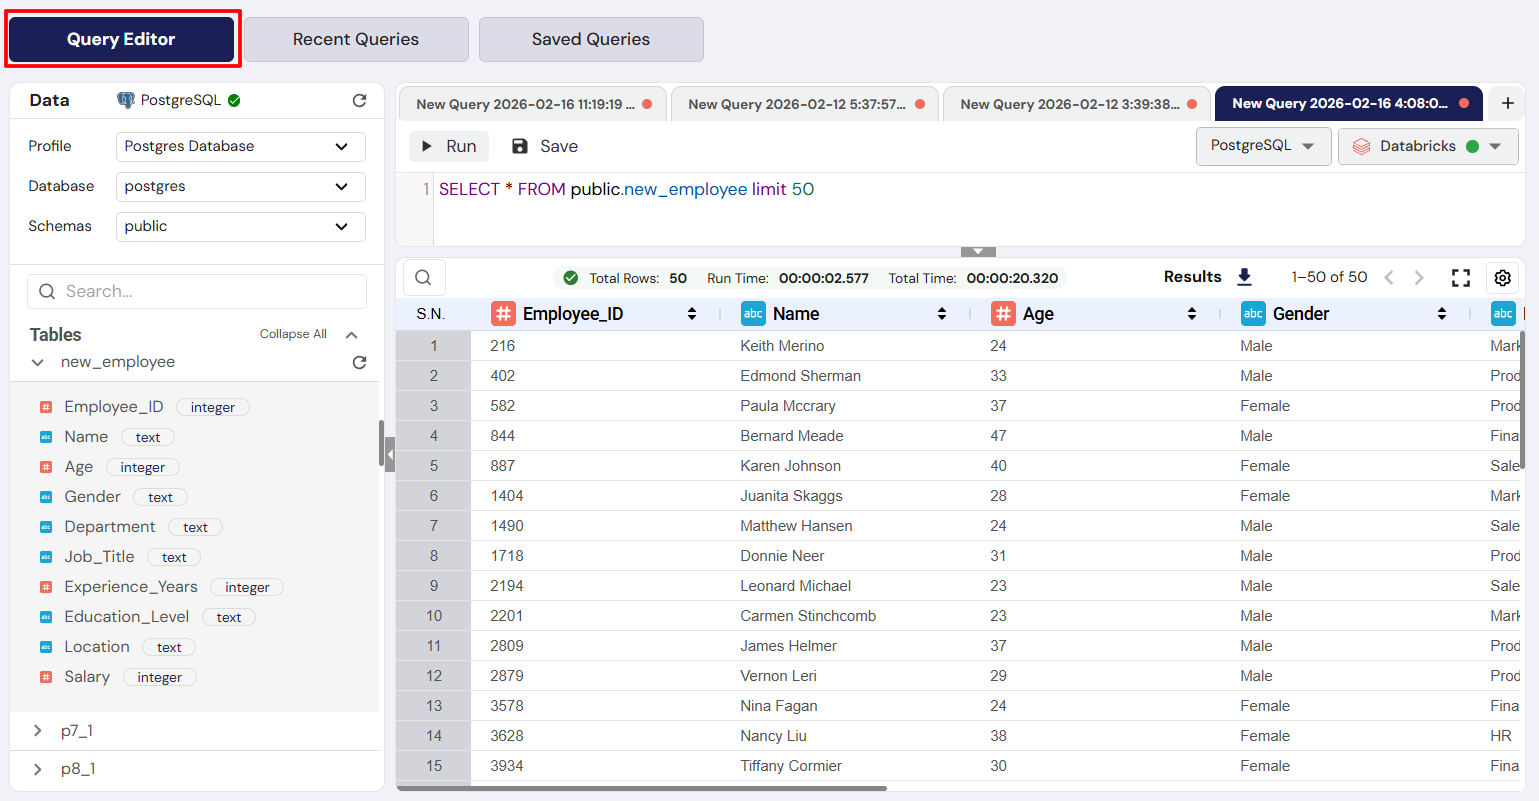
Queries are how you retrieve data from your connected sources. Whether you're working with SQL or NoSQL data, DataFuse AI provides an easy-to-use query editor for running requests.
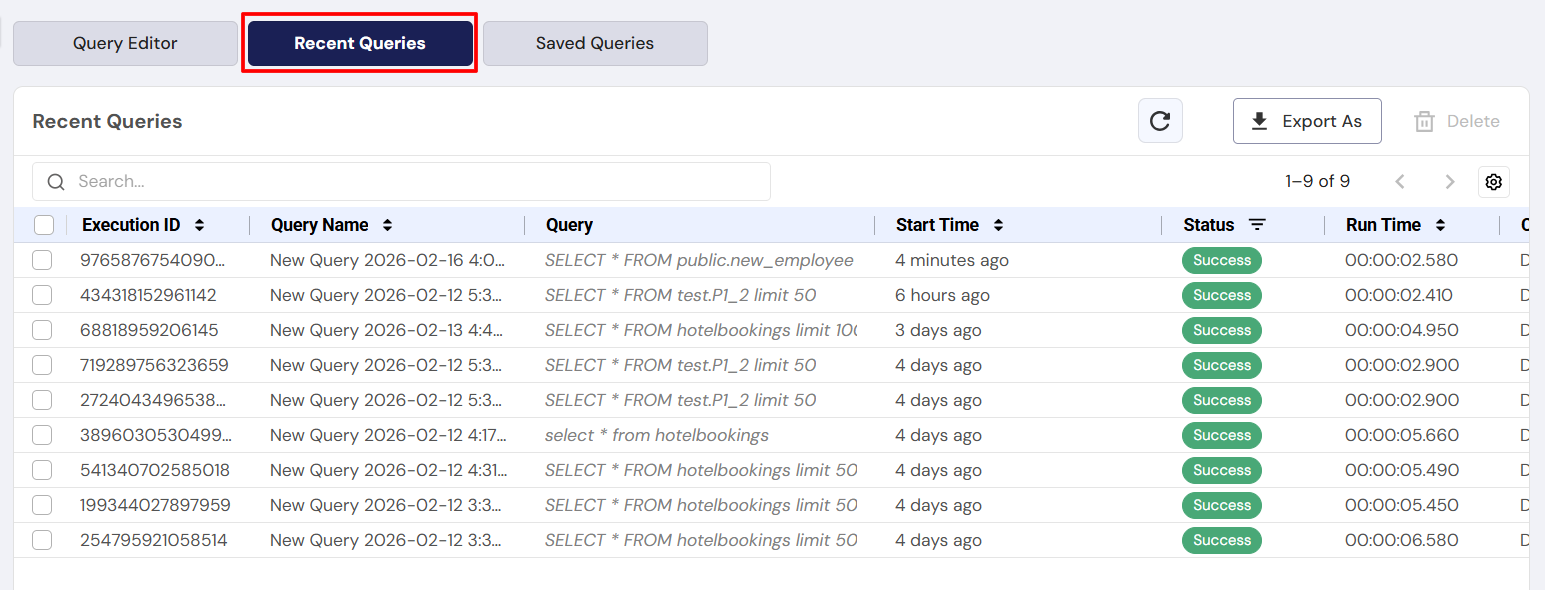
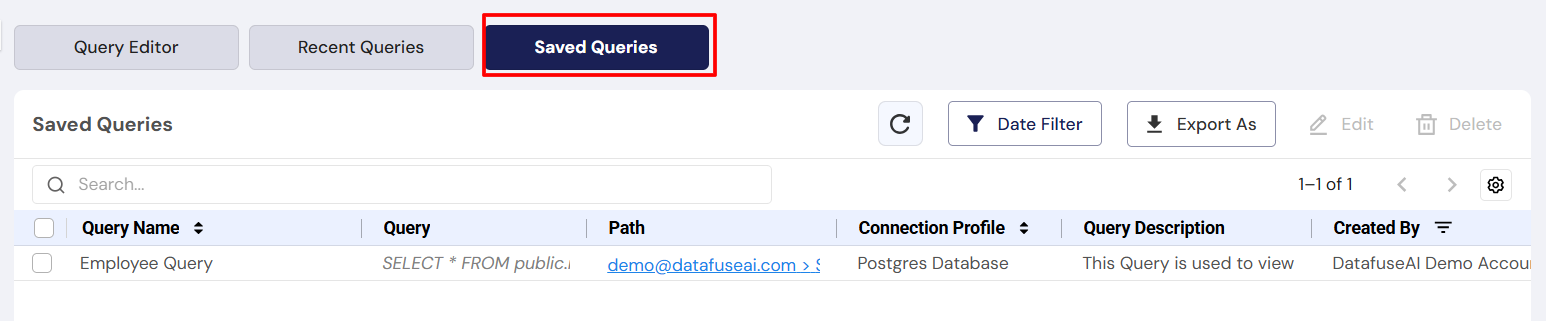
Query Interface Overview:
- Query Editor: Write and execute SQL/NoSQL queries.
- Recent Queries: Quickly revisit previously run queries.
- Saved Queries: Save frequently used queries for easy access later.
Save frequently used queries for easy access, especially if you’re generating regular reports.
For more on running queries, visit Quick Start Guides - Run Your First Query. For detailed information, see the Core Modules - Query section.
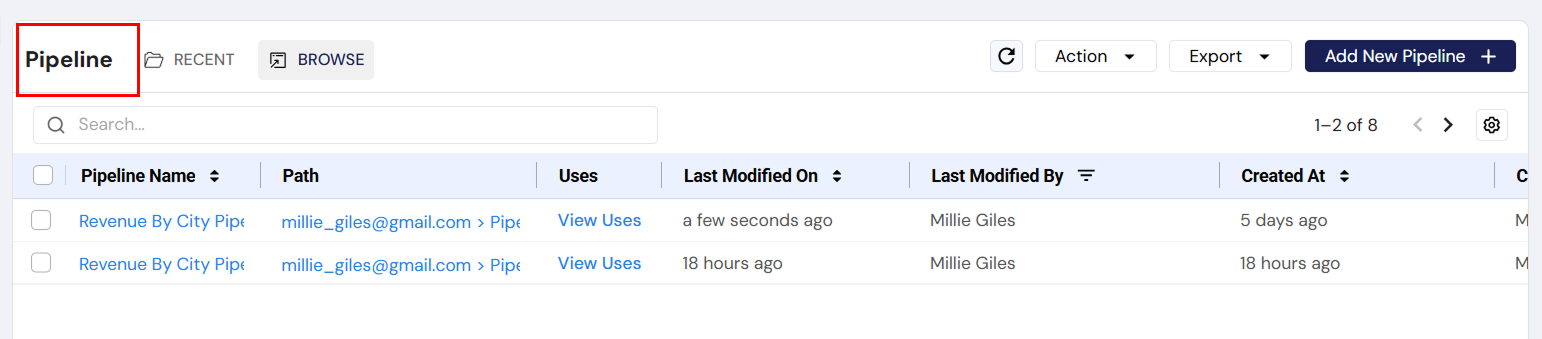
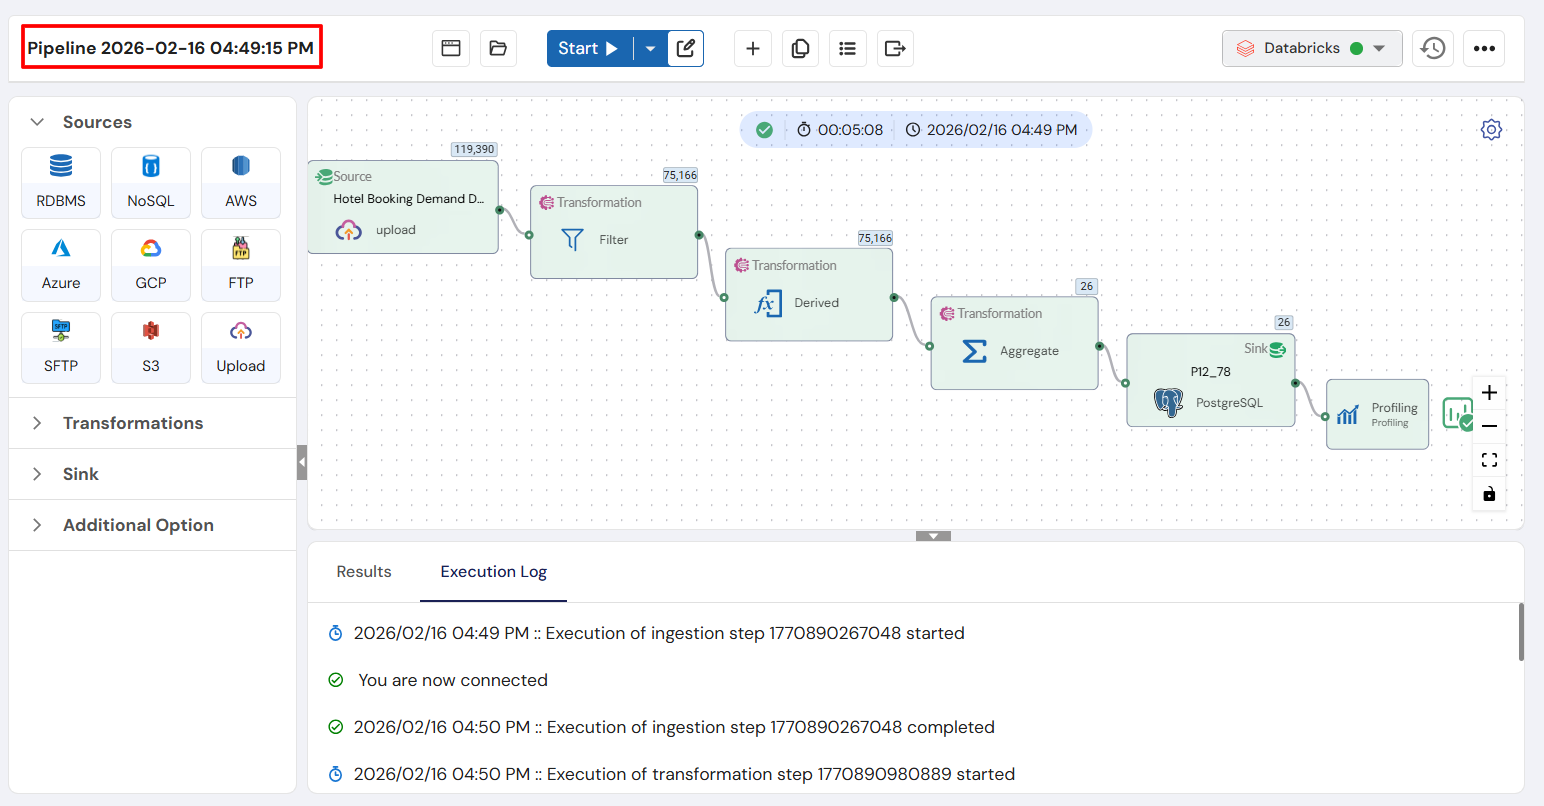
Pipeline Interface: Automating Data Workflows
A Pipeline in DataFuse AI automates the movement and transformation of data from one place to another. It’s a key part of your data automation process, and building pipelines is as easy as dragging and dropping components on a canvas.
Pipelines in DataFuse AI allow for full ETL (Extract, Transform, Load) processes. You can automate everything from data extraction to loading into target destinations, like databases or cloud storage.
For detailed guidance on building pipelines, visit Quick Start Guides - Build Your First Pipeline. For more on pipelines, see the Core Modules - Pipeline section.
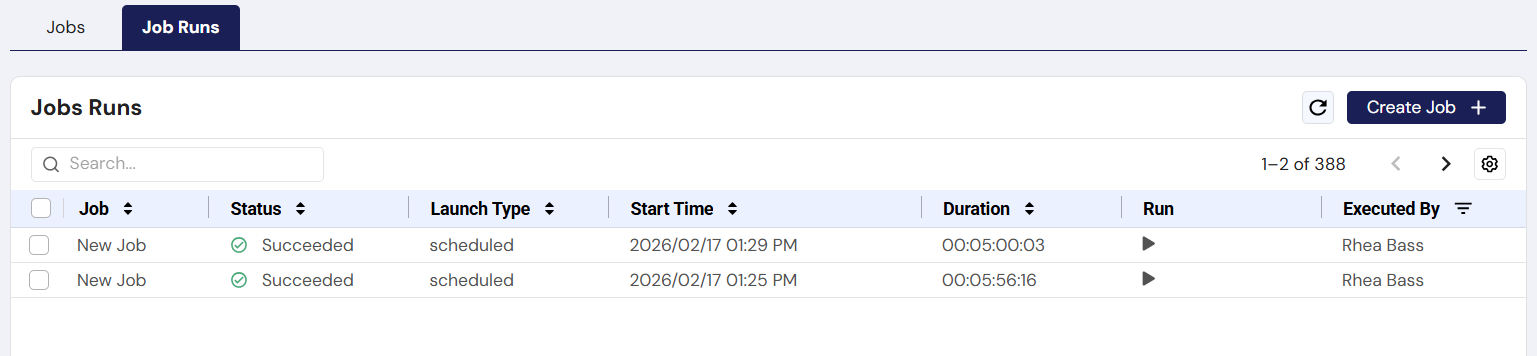
Job Interface: Automating/Scheduling Pipeline Execution
A Job automates the execution of your pipelines, running them on a schedule or trigger (e.g., run every night at midnight).
Scheduling jobs saves time by automating recurring tasks. For example, you could set up a job to run a pipeline daily at 12 am or whenever new data is added.
For guidance on creating jobs, check out Quick Start Guides - Create Your First Job. For more on jobs, visit the Core Modules - Job section.

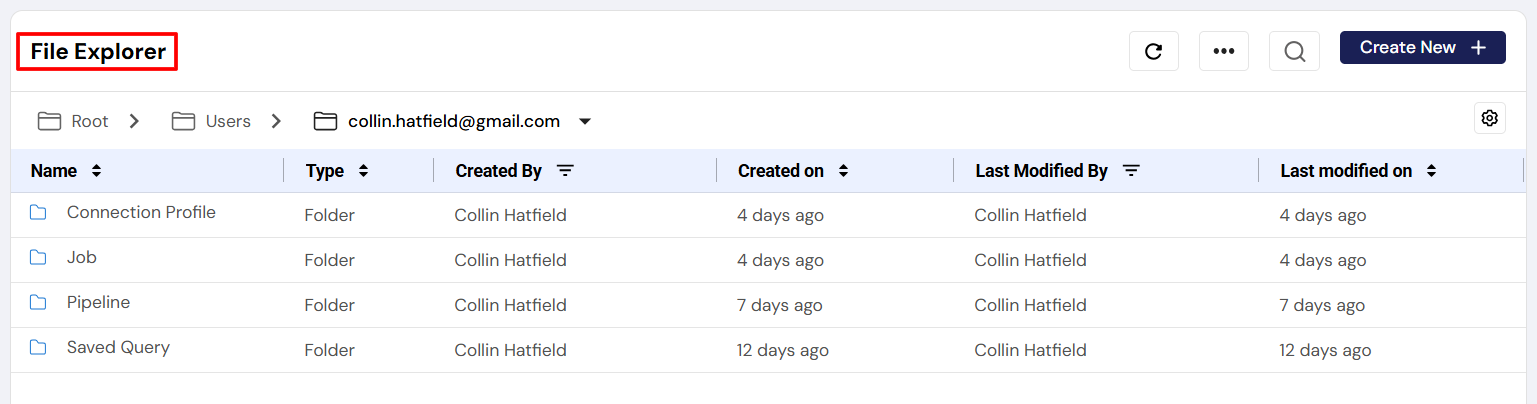
File Explorer Interface
The File Explorer module helps you organize, upload, and manage your data files within DataFuse AI. Each user has their own folder, where files like pipelines, jobs, and connection profiles are stored.
To access File Explorer:
- Click File Explorer in the left-hand navigation.
In File Explorer, you can:
- Upload and organize custom folders.
- View and manage files related to your workflows.
Use File Explorer to keep all your important data assets in one place, organized by project or workflow.
For more on managing files, visit the Core Modules - File Explorer section.
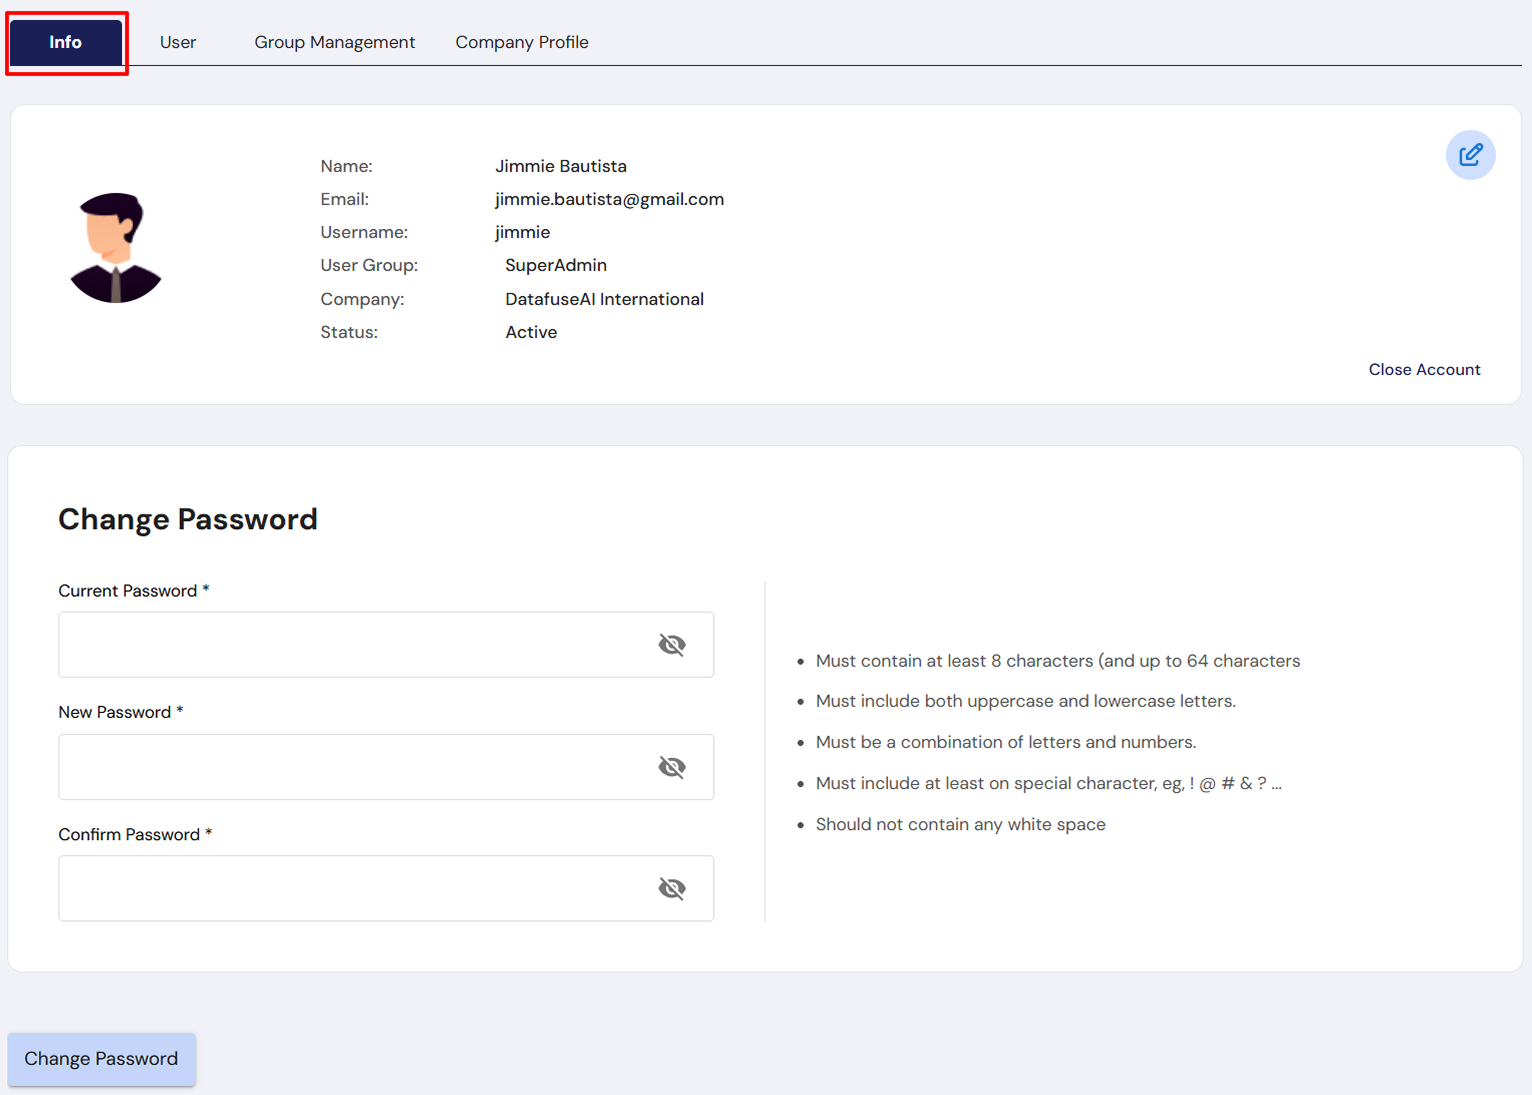
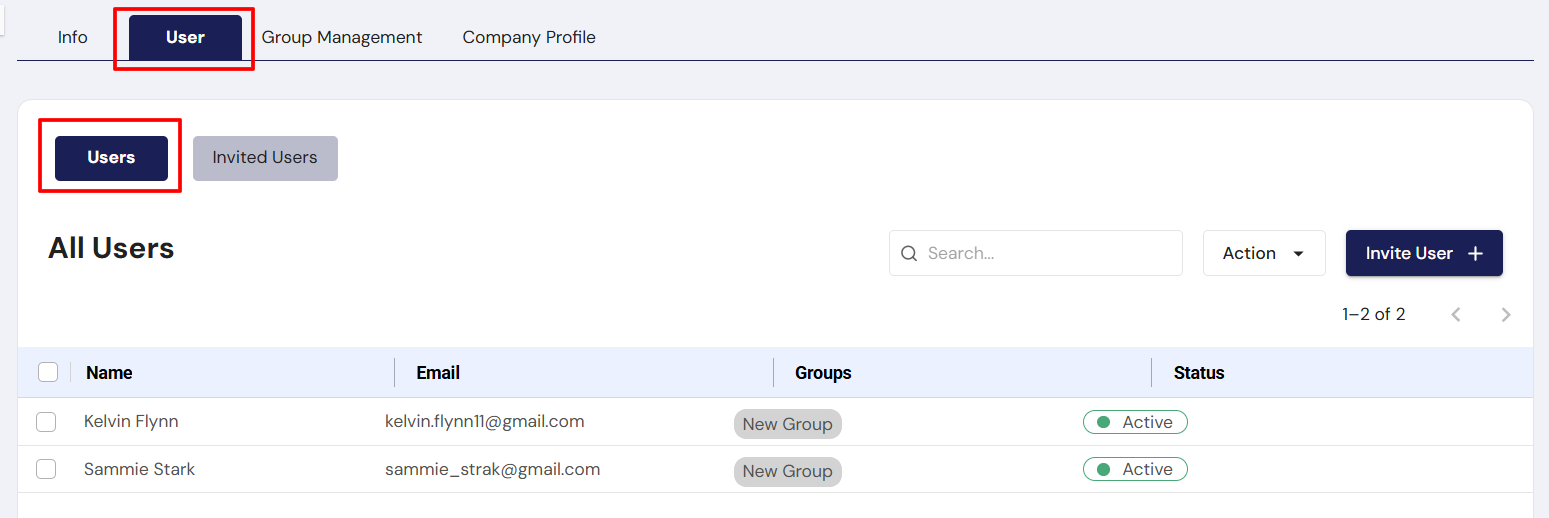
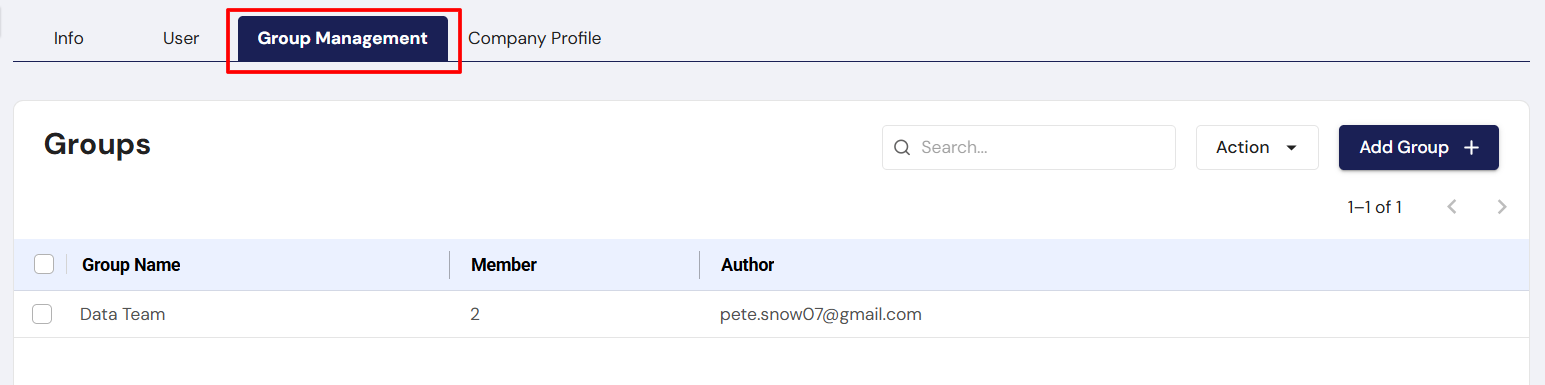
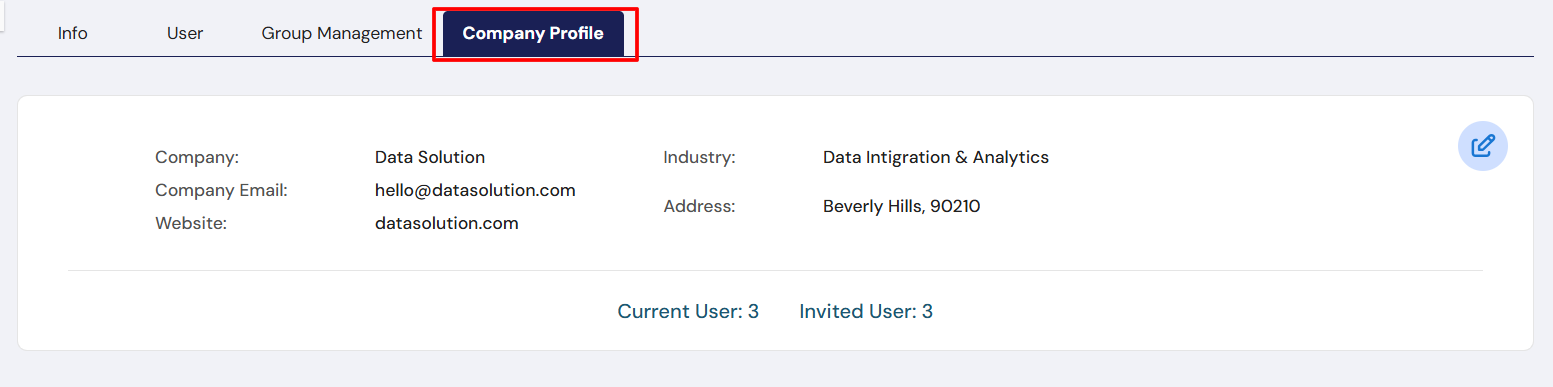
User Profiles and Groups Interface
The User Profile page lets you manage your personal information and preferences. The Group Management section allows you to organize and assign roles to users in your tenant.
To manage your user settings:
- Click on your Profile Icon in the top-right corner.
- From here, you can edit your user profile, company settings, and group management options.
For more information, refer to the Core Modules - Tenant, User & Group Management section.
Audit Log: Track Every Action
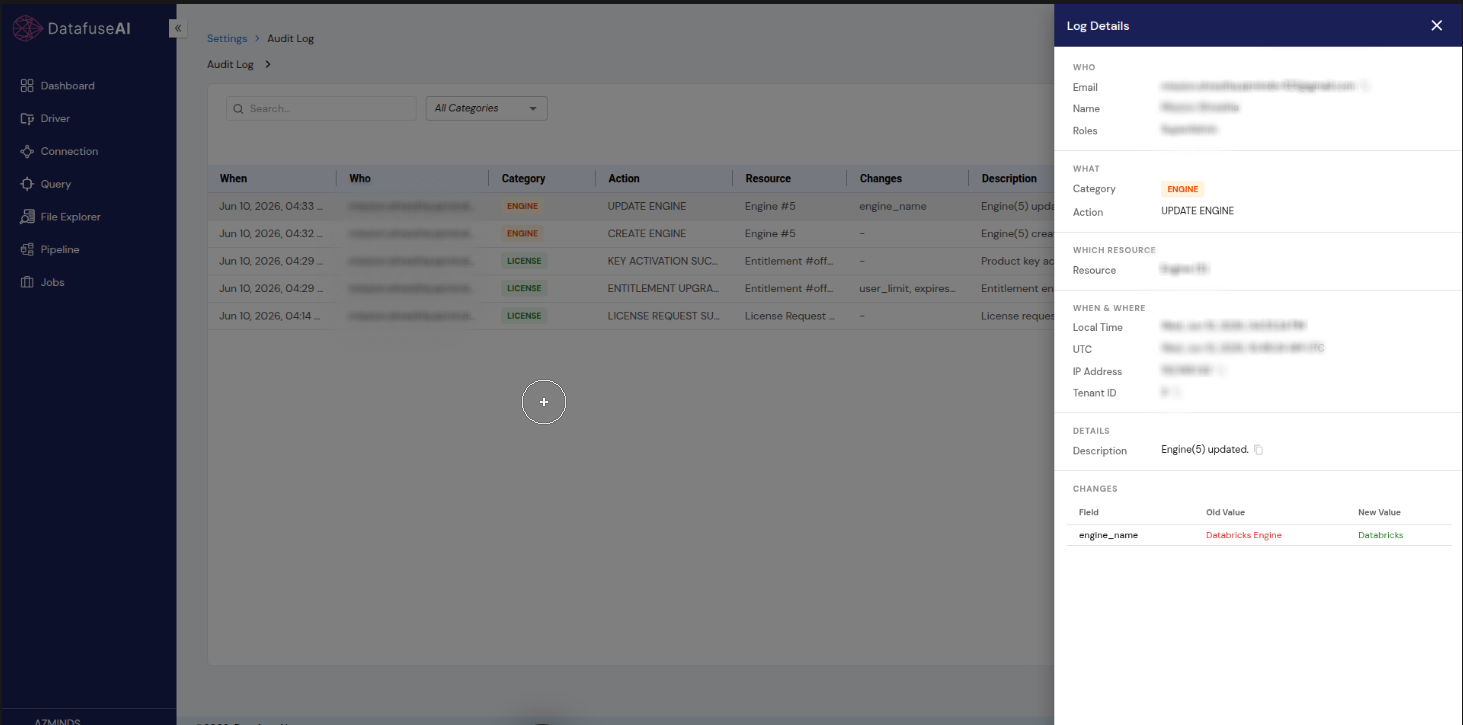
The Audit Log is your tenant's complete, searchable record of who did what, and when—across engines, license management, connections, queries, pipelines, jobs, drivers, and more. It's built for security, accountability, and compliance, going far beyond the short "Recent Activities" feed on the Dashboard.
To access the Audit Log:
- Click the Settings (gear) icon in the top-right corner.
- Select Audit Log (breadcrumb: Settings → Audit Log).
On the Audit Log page, you can:
- Search and filter events with the All Categories dropdown (e.g., ENGINE, LICENSE).
- Review each row's When, Who, Category, Action, Resource, Changes, Description, and IP Address.
- Click a row to open the Log Details drawer with the full record, including field-level Old Value / New Value changes.
- Export the trail for compliance and investigations.
Access to the Audit Log is restricted by default. The SuperAdmin can grant it to specific groups (typically administrators, security, and compliance roles) via Group Management.
For more on the audit trail, visit the Core Modules - Audit Log section.
Next Steps
Now that you've explored the basics, you're ready to dive deeper into DataFuse AI's powerful capabilities. Here are some helpful next steps:
- Core Modules - Dashboard
- Core Modules - License Management
- Core Modules - Engine
- Core Modules - Driver
- Core Modules - Connection Profile
- Core Modules - Query
- Core Modules - Pipeline
- Core Modules - Job
- Core Modules - File Explorer
- Core Modules - Audit Log
- Core Modules - Tenant, User & Group Management
Explore these sections to unlock more advanced features and start building sophisticated workflows.
With this First-Time Experience & UI Walkthrough, you're now ready to begin using DataFuse AI effectively. We’re excited for you to start exploring the platform!